Consistent quality, very few rejects, reliable part and batch tracking, added transparency: The use of vision sensors for quality control directly in the production process offers a number of benefits. Depending on the task at hand, you need to have the right vision solutions, which allow for quick and efficient integration into your machine. The later an error is detected in the production process, the more costs it incurs and scrap material it causes. In light of this, it is therefore essential to detect errors as early as possible. At the same time, the evaluation of quality attributes enables users to identify any measures needed in production facilities or for production material. Vision sensors are ideal for dealing with these issues. Their spectrum stretches from 2D monitoring for simple production features and operating material attributes to high-end tests using 3D vision systems. Rejects and costs are cut as a result. Yet another benefit: The individual images from the vision sensors are stored and kept available for a later date - perfectly in keeping with the principles of Industry 4.0 and added transparency. Vision solutions used to be used primarily for monitoring production material at end customers. However, an increasing number of machine manufacturers and OEMs are joining the trend of incorporating the issue of quality control into their machines and plants - another step towards creating complete solutions for the end customers. The benefit of inline Quality control is, that it detects errors at their source:
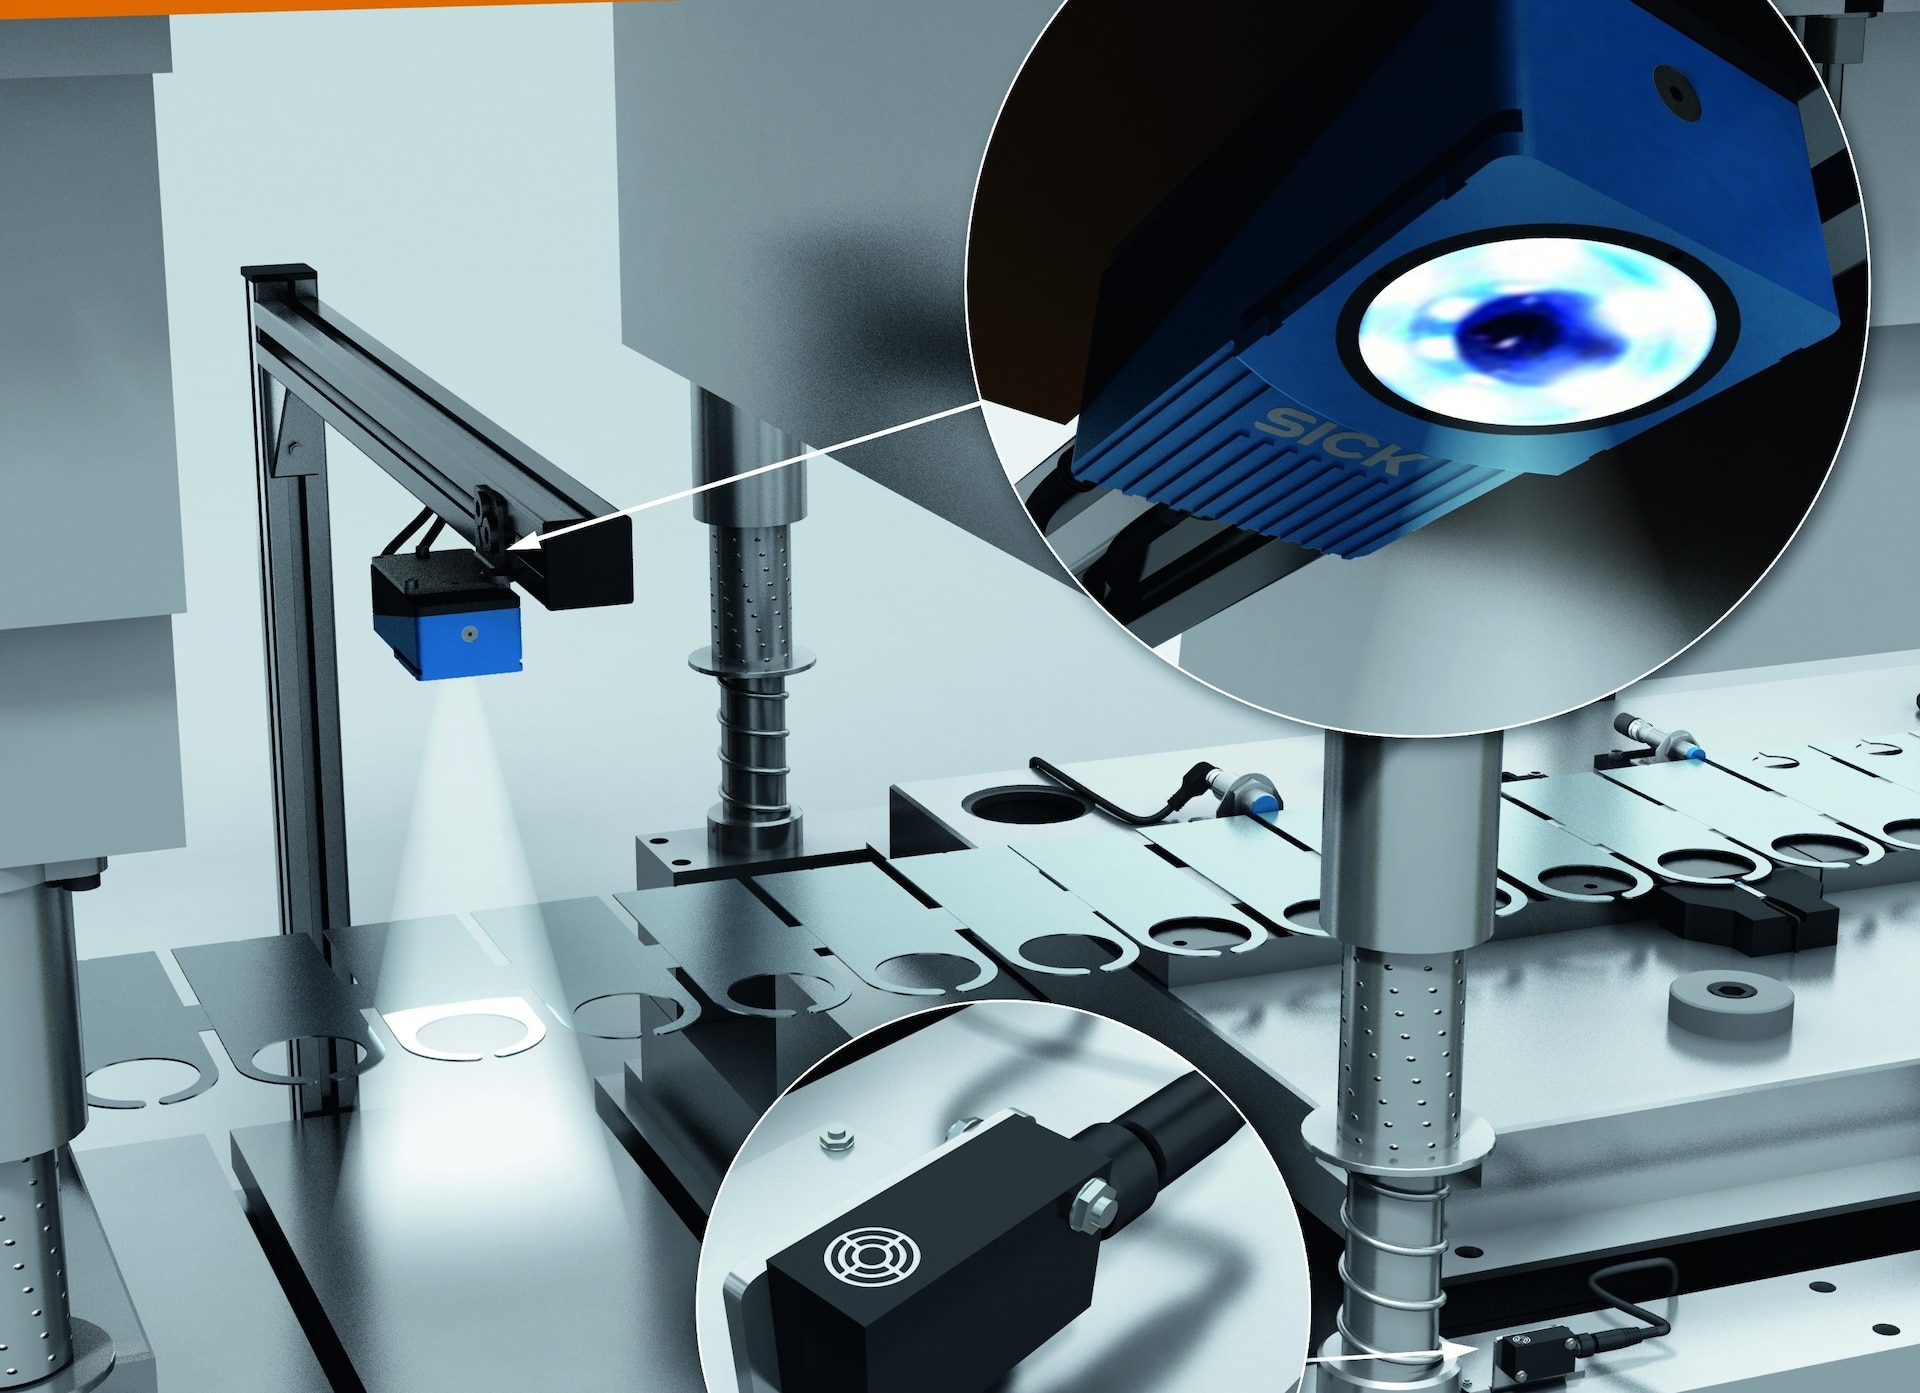
Forming Machine Tools, Punch Press
 Vision sensors like the Inspector conduct ongoing checks of the punched contours or holes directly in the process. Irregularities or errors in the punching process are therefore detected immediately and with full reliability. An added bonus even for the flexible production of small batch sizes: The operator can access pre-defined test parameters when changing a batch or use functions to modify the parameters himself - so you dont need to be a vision expert. The results of the thorough check are evaluated in the vision sensor itself and passed on accordingly.
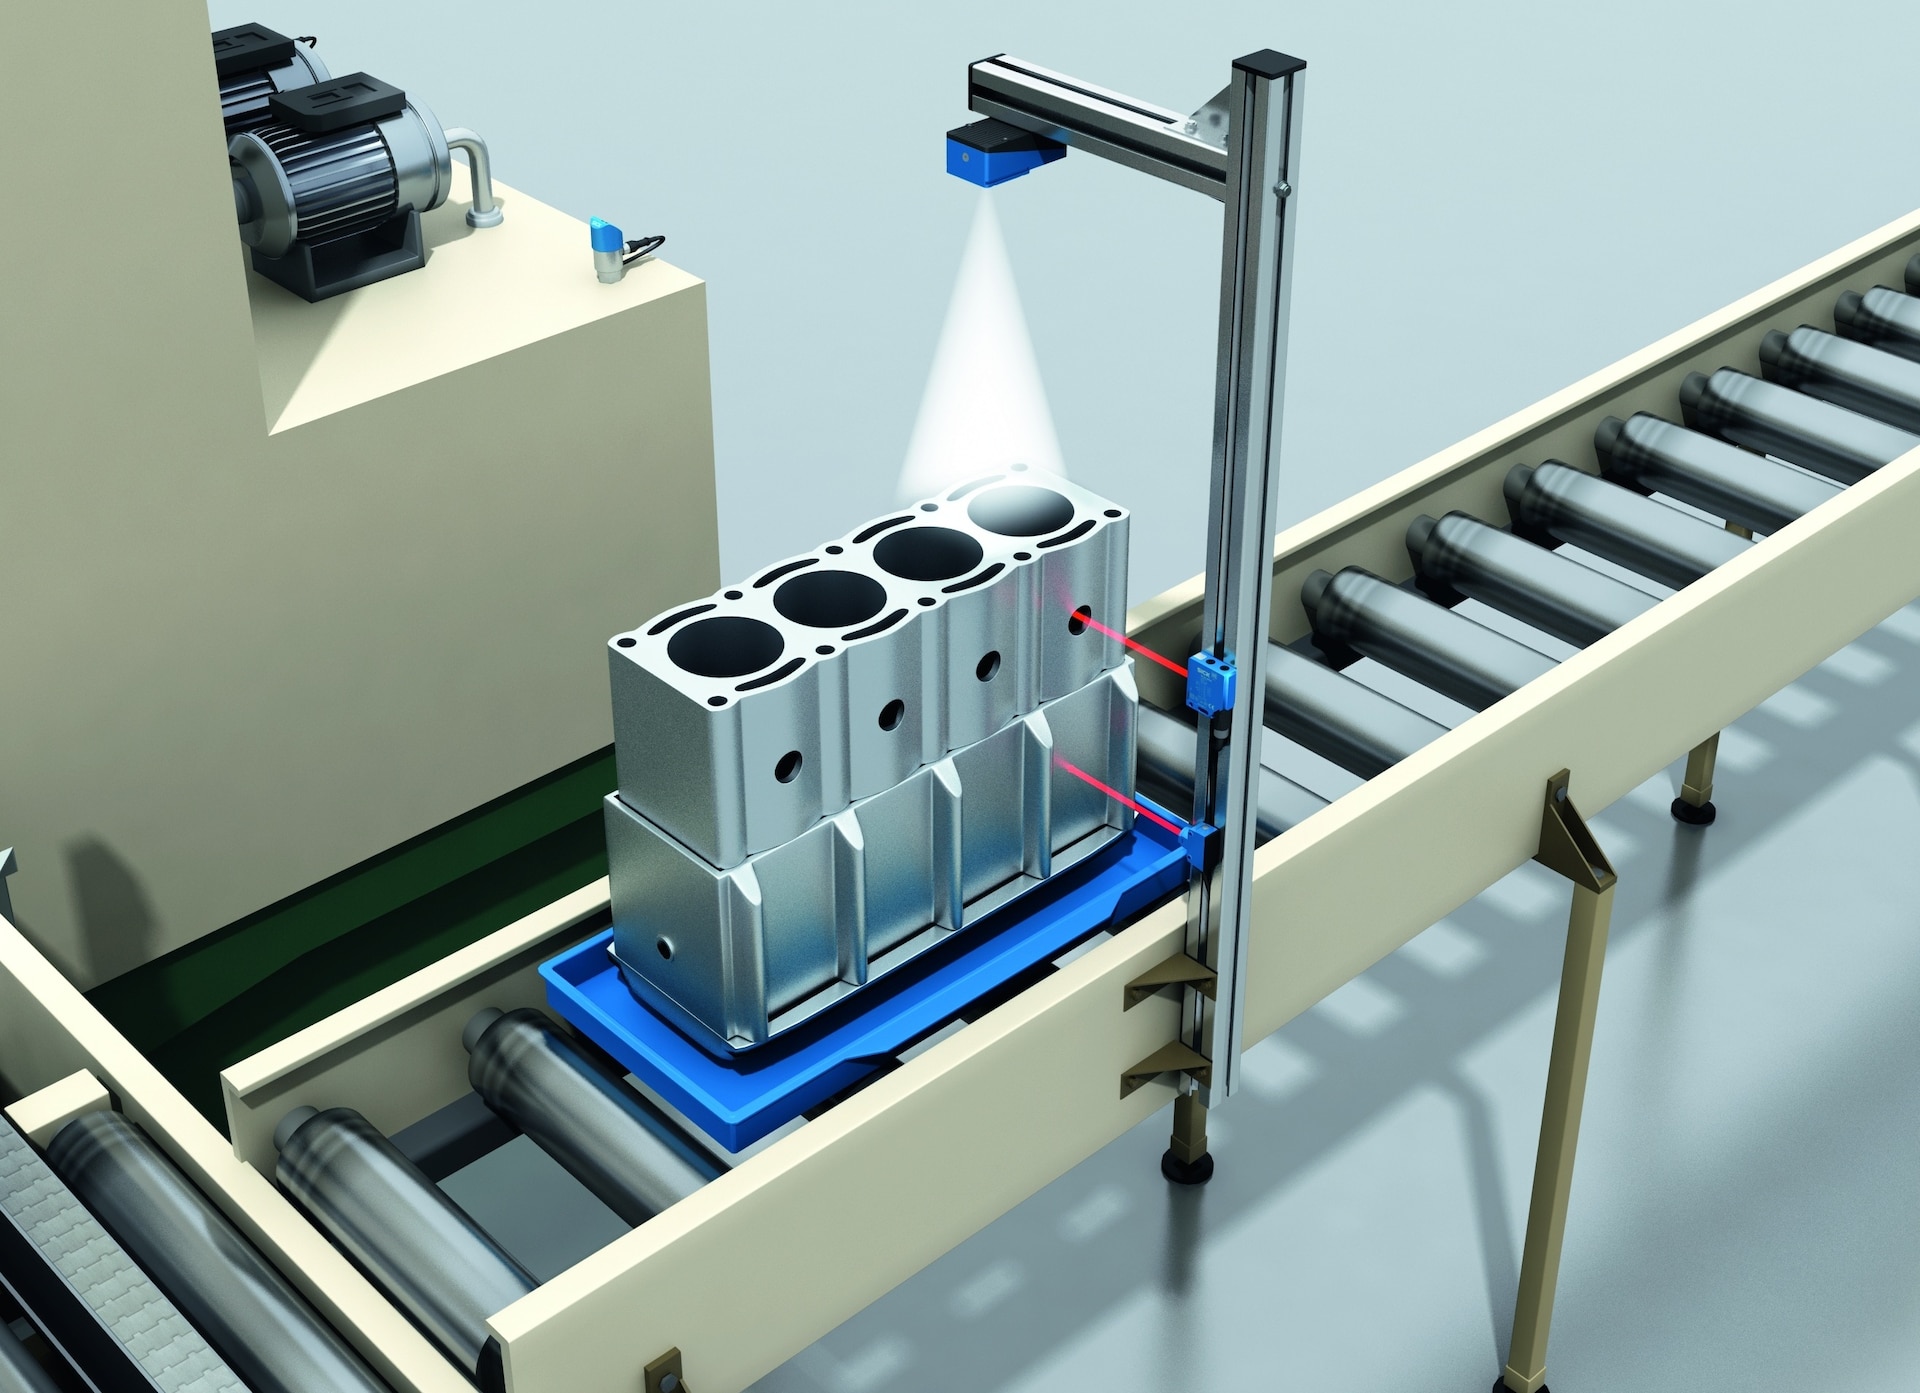
Cutting Machine Tools, Powertrain
 Are all of the holes and recesses in place and correct? To conduct a full quality check after processing a motor block, an Inspector vision sensor not only checks that all contours and holes are in place, it also makes sure they are the right shape. Any parts that have not been processed correctly can be rejected before further processing. The production process can then be stopped in good time, for example, if you need to replace any damaged tools. Furthermore, the sensor uses taught-in features to identify the individual parts. This information is sent to the control unit for the next machine in the line so that the production process can be modified if necessary.
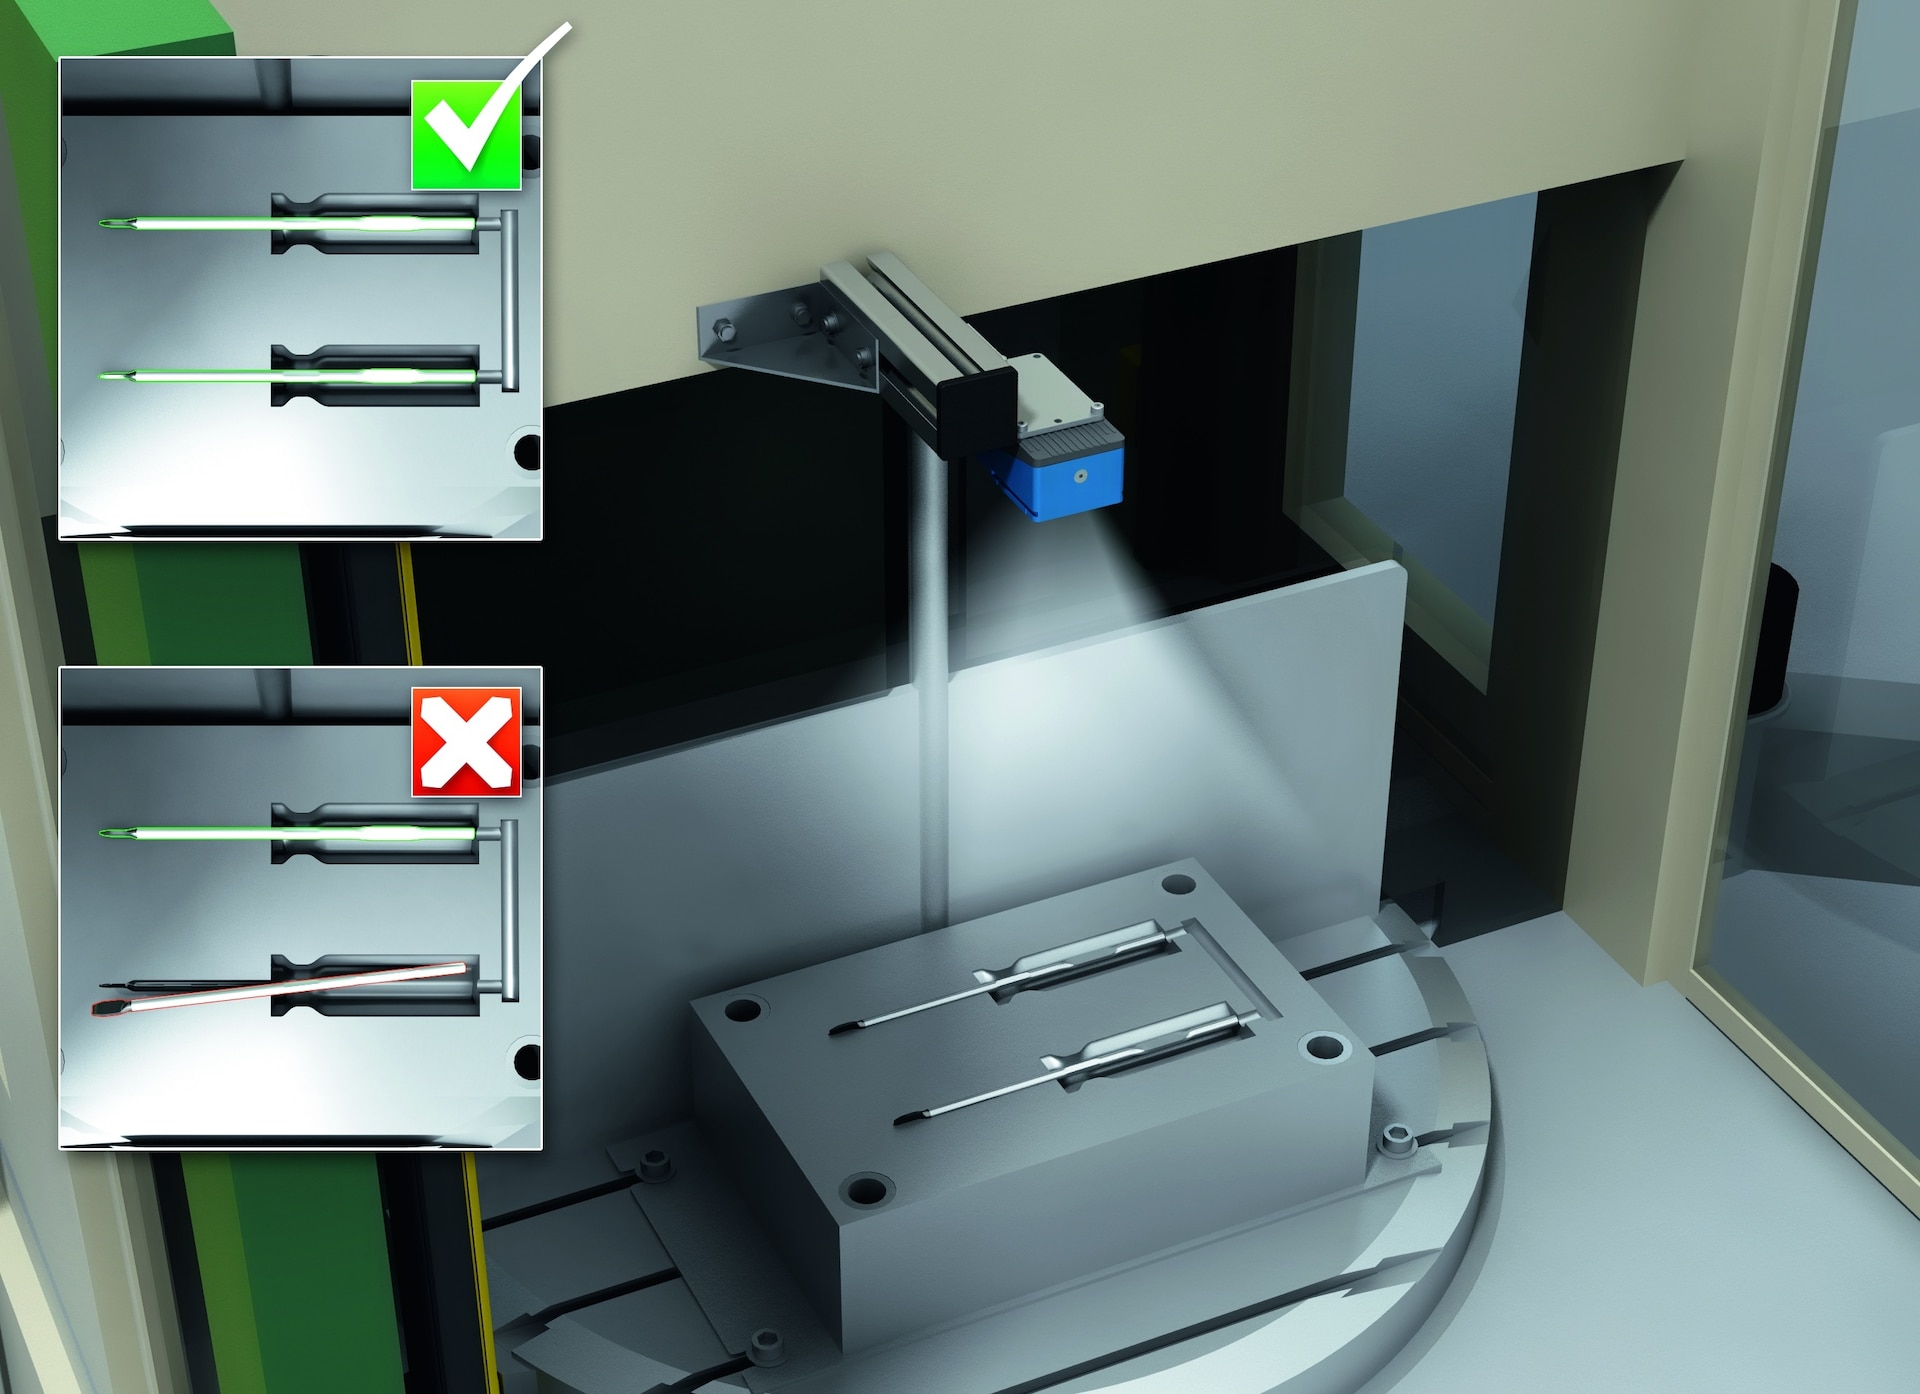
Injection Molding Machines: Position Monitoring and Quality Control
 The plastic and rubber industry requires a high level of efficiency and economy with a consistent level of quality. The use of vision solutions offers a number of benefits: For instance, a vision sensor can check whether an insert has been placed correctly into the injection molding machines mold. Having the component in the right position prevents damage to the tool and, as a result, reduces machine downtime, while at the same time improving the quality of the part in question. In the production of injection- molded plastic parts, the quality of the final product also depends on a number of factors, such as temperature fluctuations, fluctuating quality in the plastic granules, etc. Inline quality control using vision sensors can also offer advantages in this case: Errors such as over- or underfilling are detected reliably so that faulty parts can be safely separated and ejected.
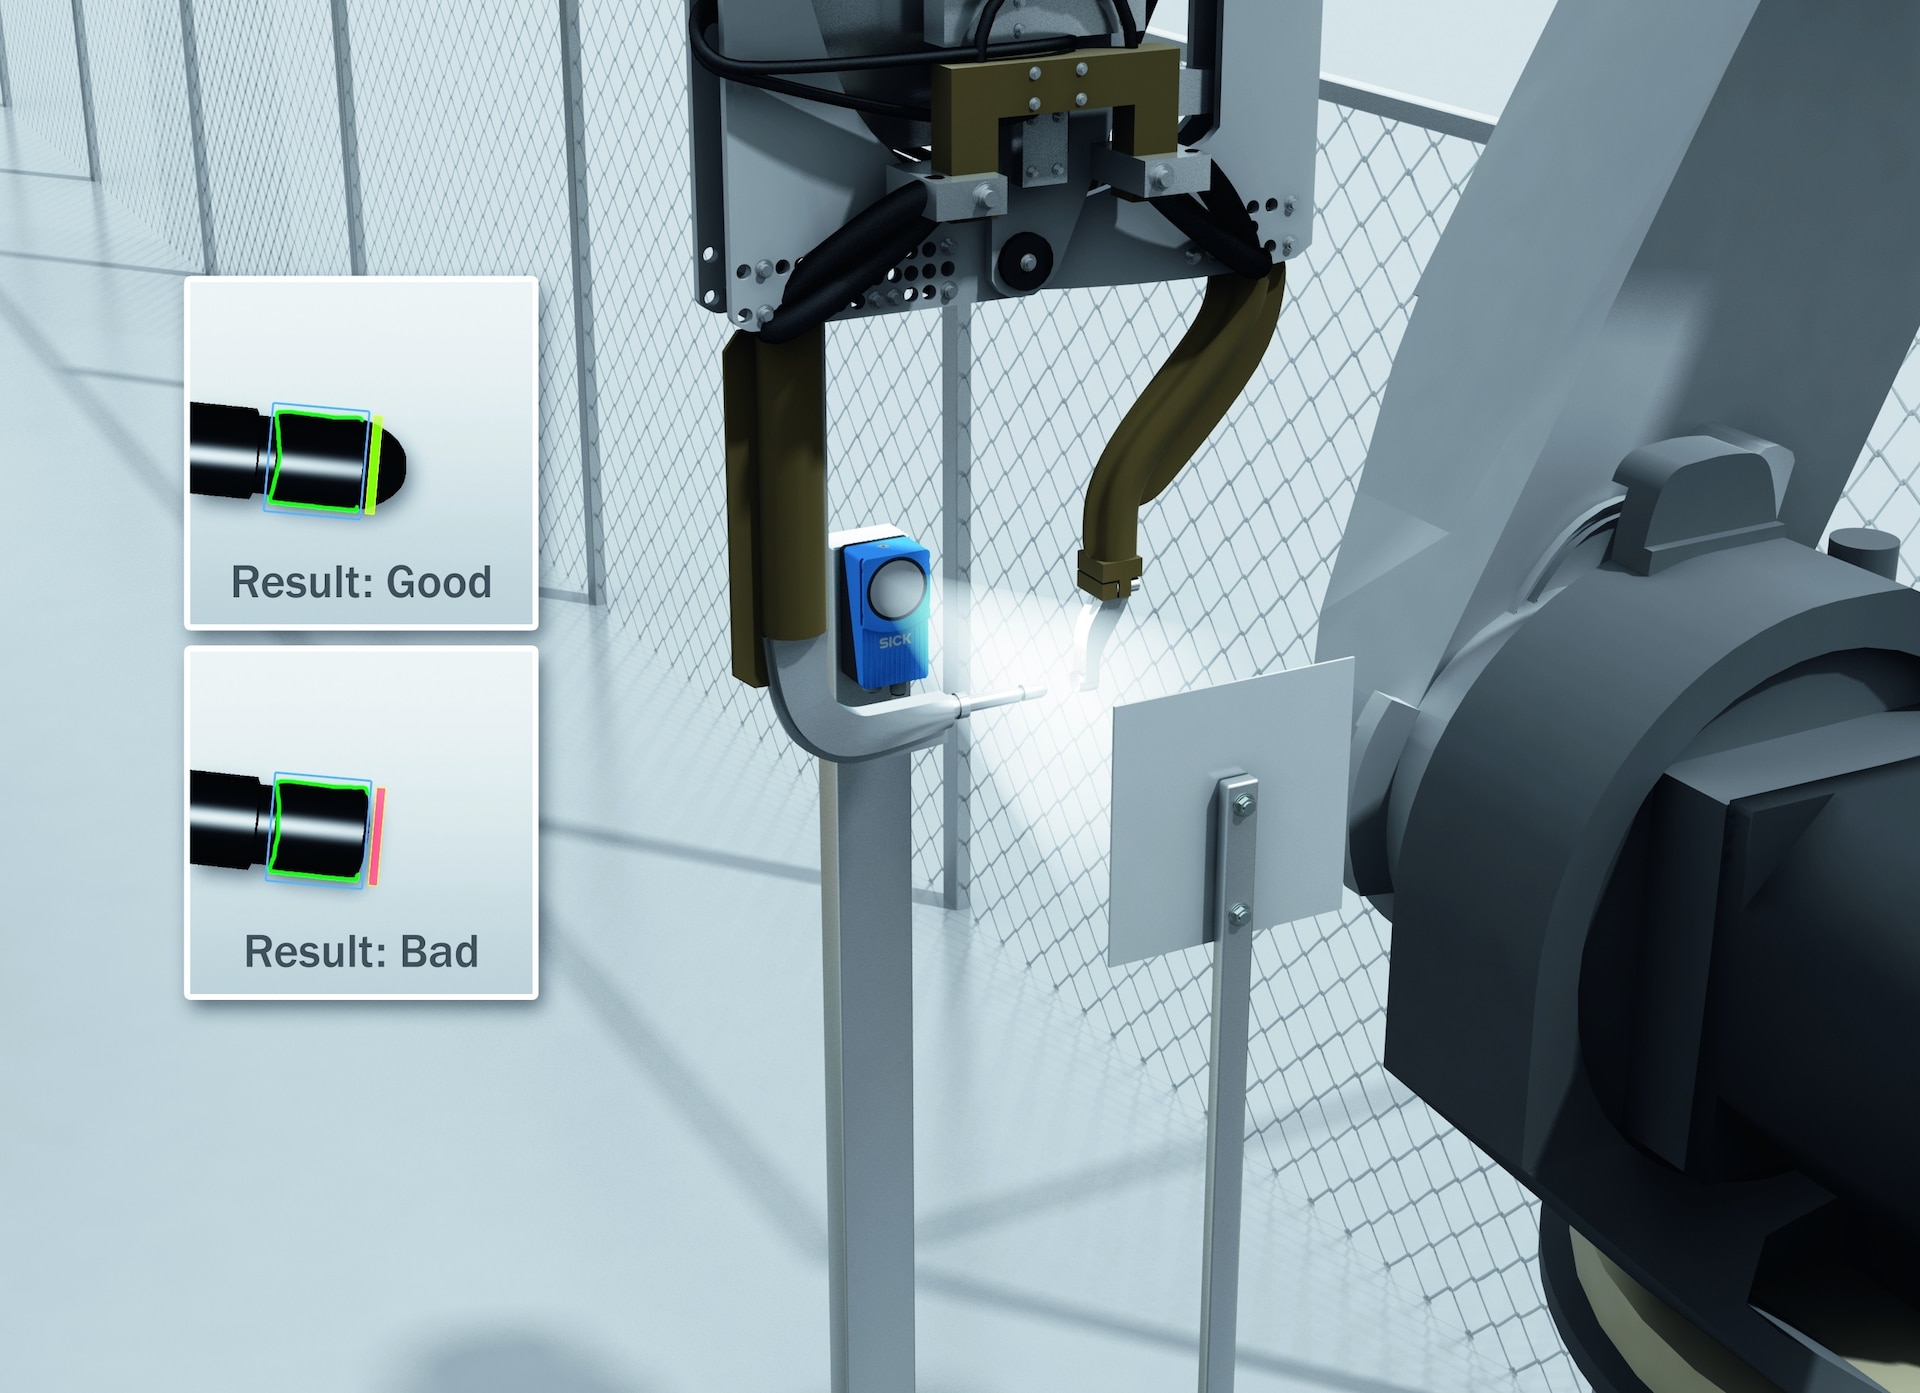
Monitoring Welding Caps and Laser Nozzles
 When welding or cutting metal panels, the quality of the welding caps on the welding gun or laser cutting device has to be monitored on an ongoing basis. Welding caps wear off as the processing time increases, requiring them to be replaced. An Inspector 2D vision sensor checks defined parameters, such as shape and diameter, and detects irregularities that cannot be tolerated. The operator can then replace the welding caps in good time so that product quality remains consistent.
Quality Control in the Processing of Sawn Timber
 Powerful 3D vision solutions make a valuable contribution to the quality of the final product. For example, the Ranger E 3D vision sensor can generate an exact image of the surface of the board when processing sawn timber. As a result, potential errors and undesirable irregularities on the board, such as cracks, gaps, spots, rot, resin, or knots, can be clearly detected. This inline quality check using 3D vision solutions is equally well suited for the production of flat glass and plastics.
- Product information: Ranger, Inspector
- Product portfolio:
- Further information: Machine Tools, Automotive, Wood

